¶ Copy Customization Profile
Create some Customization Profiles in the in-game editor and save them (use the randomization feature if desired). Stop playing and select e.g., the BP_Character placed in our showcase map.
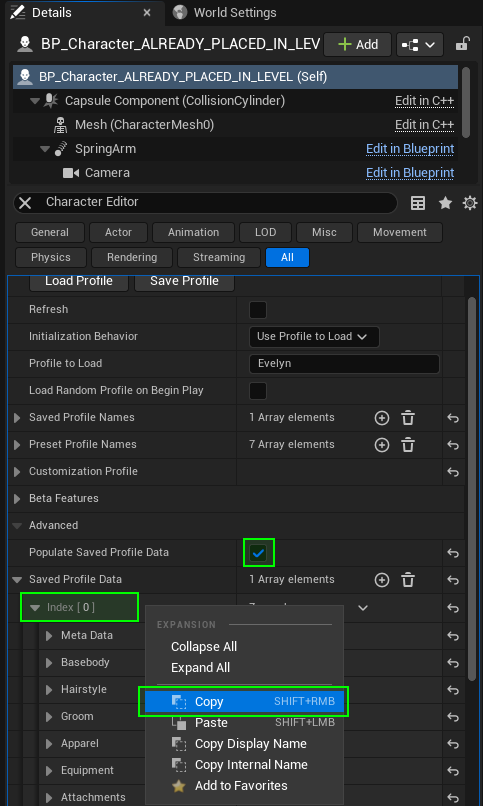
In BP_Character > Details Panel > Advanced, enable Populate Saved Profile Data and look for Saved Profile Data (figure to the right). Here you will find all profiles listed in a structure format.
For shipping builds it is best to store the desired profiles by right click > Copy to any array type of FCustomizationProfile_V10 or preset data table type.
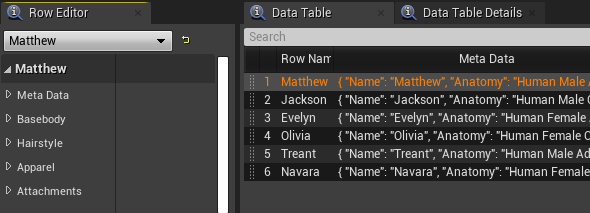
For this tutorial, we use DT_PresetCustomizationProfiles_V10 (figure to the bottom) that is assigned to BP_Character > Preset Data Table and passed to BP_CharacterCustomization > Preset Data Table by BP_Character > Construction Script.
Populate Saved Profile Data is disabled by default to avoid having undesired references in packaged games, if you pre-place characters in your levels. If you want to keep a character where you enabled this property, before packaging, we recommend to disable it again and clear the Saved Profile Data.
¶ Spawn Character
From there, spawn a BP_Character or a properly set up custom character Blueprint. Get its character customization component and call “Apply Customization Profile" with the desired profile.
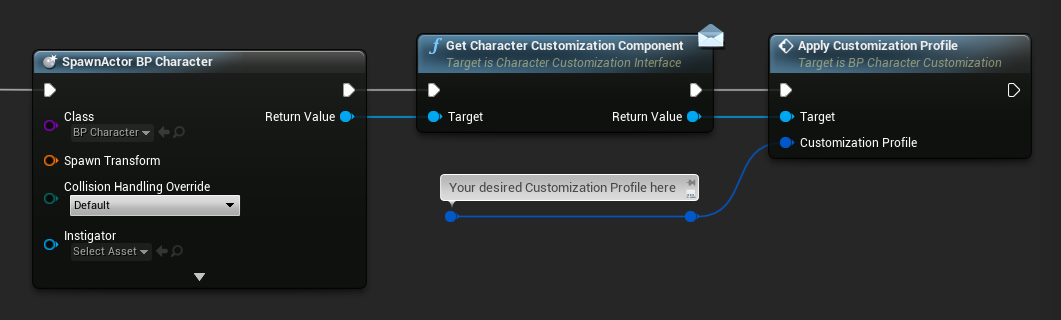
You can use any of the profiles stored like above in the data table or even create a profile here in Blueprint. If you would like to have randomized profiles in Blueprint, you must implement this functionality on your own, since we currently only support this in combination with the in-game editor’s widget’s randomization.