If you want to animate your CDAs, that use skeletal meshes (any BP_CDA_Skeletal) you can use the Post Process Anim Blueprints of their skeletal mesh as part of the new animation workflow. Besides that, you need to prepare such an Anim Blueprint slightly to make it work properly with the BP_CharacterCustomization component. As an example, you will see how the CDA_ma_avg_beard_dynamic data asset, that comes with Character Editor V4 (Animation Update), is animated. The following steps are already done by us but are written as you would do it yourself, thus you can follow better. Feel free to perform them for your own CDA.
Open CDA_ma_avg_beard_dynamic and see the skeletal mesh that is already assigned. Or create a BP_CDA_Skeletal (see Add Customization Data Asset) and assign the skeletal mesh you want to animate.

If you want to create your own Anim Blueprint, right click the skeletal mesh > Create > Anim Blueprint.
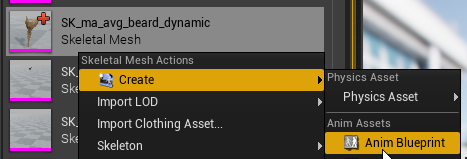
Rename it as you like. For the beard, we have added the generic “_AnimBlueprint” suffix.

Open the beards’ or your Anim Blueprint, go to its Class Settings. Add the CharacterAnimInstanceInterface.

Add a Skeletal Mesh Component variable to the Anim Blueprint that is called something like “CopyPoseMesh”.


Find the Set Copy Pose Mesh function in the Interfaces section of your Anim Blueprint. Then right click > Implement Function. This is needed for the BP_CharacterCustomization component to automatically set the Copy Pose Mesh once the data asset with the animated skeletal mesh is used.
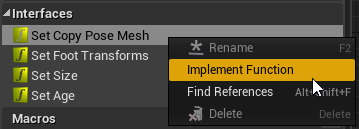
The Event Graph gets focused, and the node “Event Set Copy Pose Mesh” will be placed. Create a “Set” node for your CopyPoseMesh variable and connect it like this.

Then go to the Anim Graph and place a “Copy Pose From Mesh” node and a “Get Copy Pose Mesh” node.

Place them at the beginning of your event graph (first and second nodes). Transform the Copy Pose with a “Local to Component” node and perform any animation you like. In the beard example to bones get controlled by Anim Dynamics nodes to let it swing around. Afterwards transform it back from “Component to Local” and connect it to the Output Pose.

Open the skeletal mesh you previously created the Anim Blueprint from.
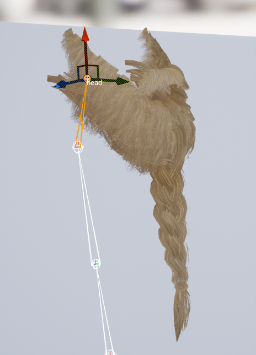
Go to its Asset Details, find the Post Process Anim Blueprint variable, and assign your Anim Blueprint.
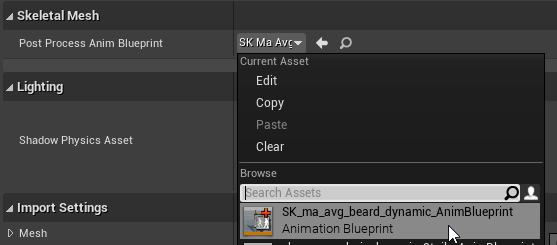
Once you select the data asset in game, the Anim Blueprint automatically gets applied as the new anim instance as well as the Copy Pose Mesh allows your skeletal mesh to follow the main character animations, while performing its own animations – the Anim Dynamics in this case.
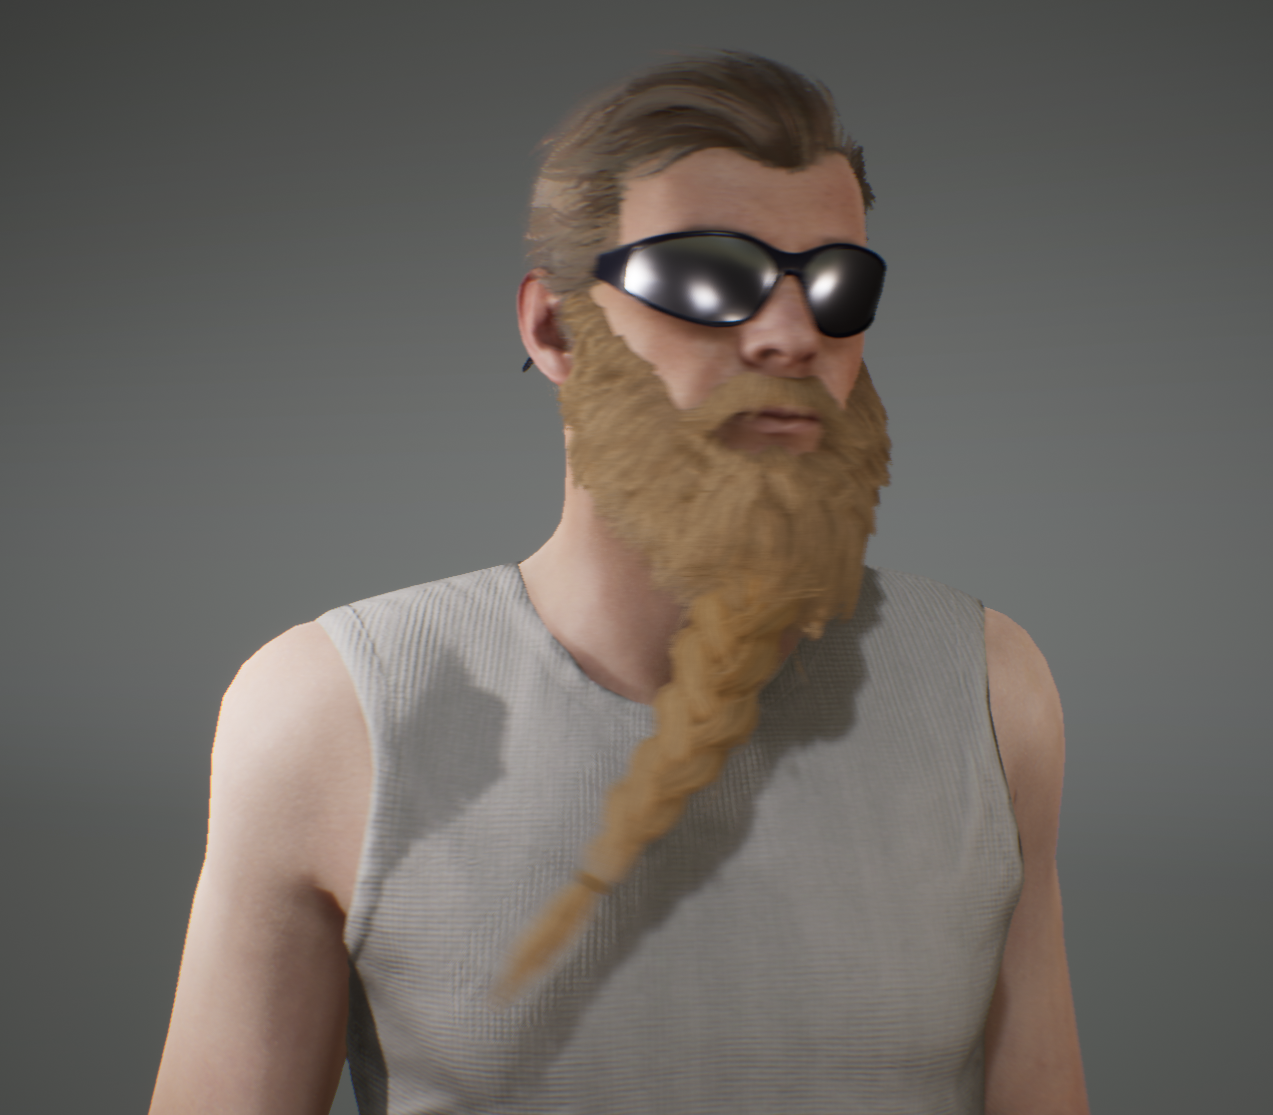
You are free to add any additional animation if you implement the Copy Pose Mesh as described.