¶ Introduction
Sometimes you want to persist the player across level changes. This can be done by using the Game Instance, which itself is persisted across map changes from game start to game end, thus you can store anything in there you want to pass to the next level.
¶ Try yourself [V8]
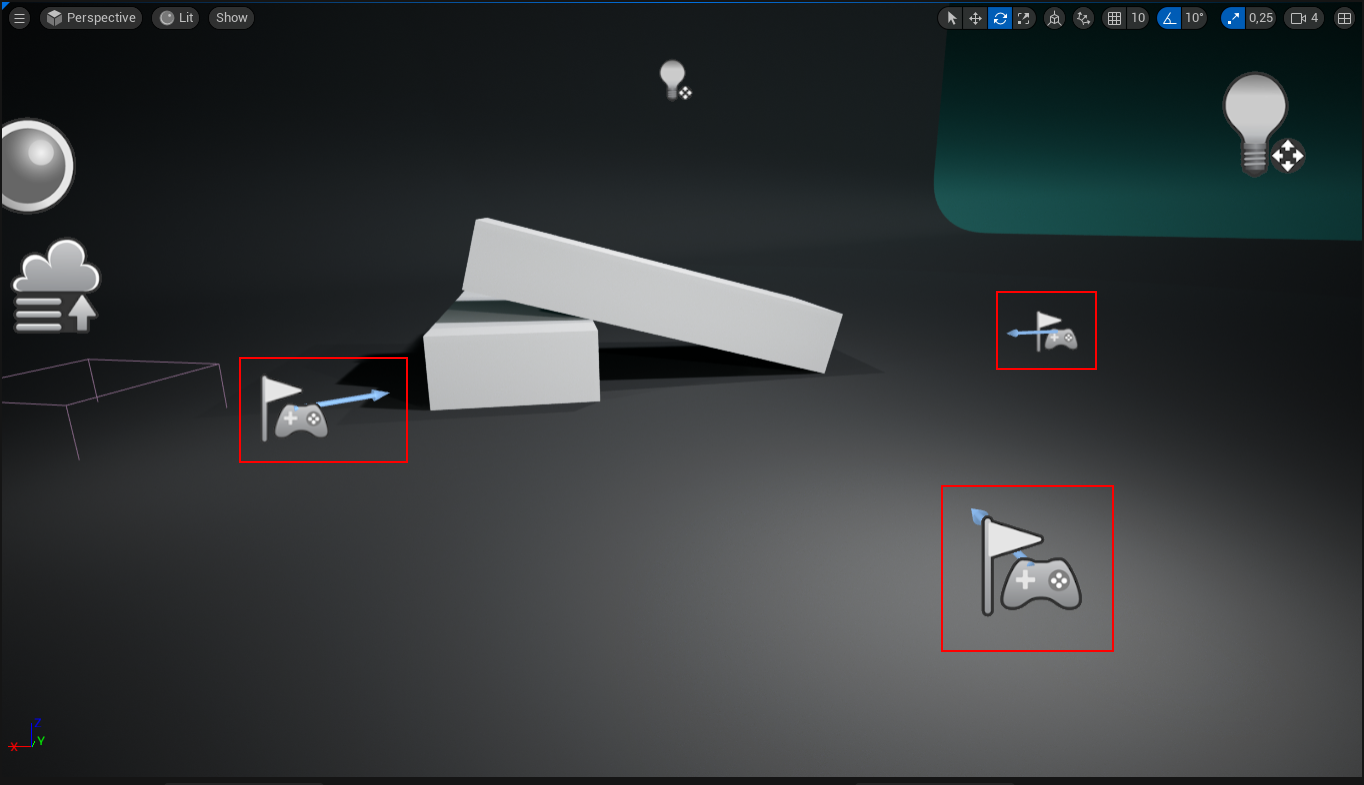
We have prepared a tutorial level to show this behavior.

The level has three PlayerStarts in it to give some random spawn behavior.
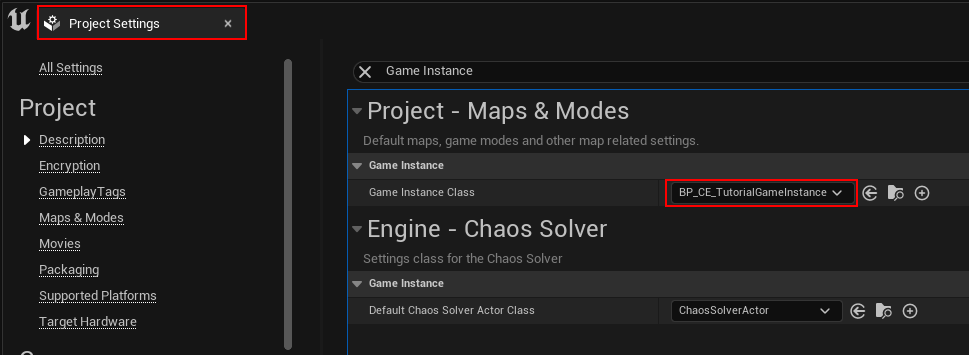
To be able to use our tutorial functionality, at first, head to your project settings and select BP_CE_TutorialGameInstance as the Maps & Modes Game Instance Class.
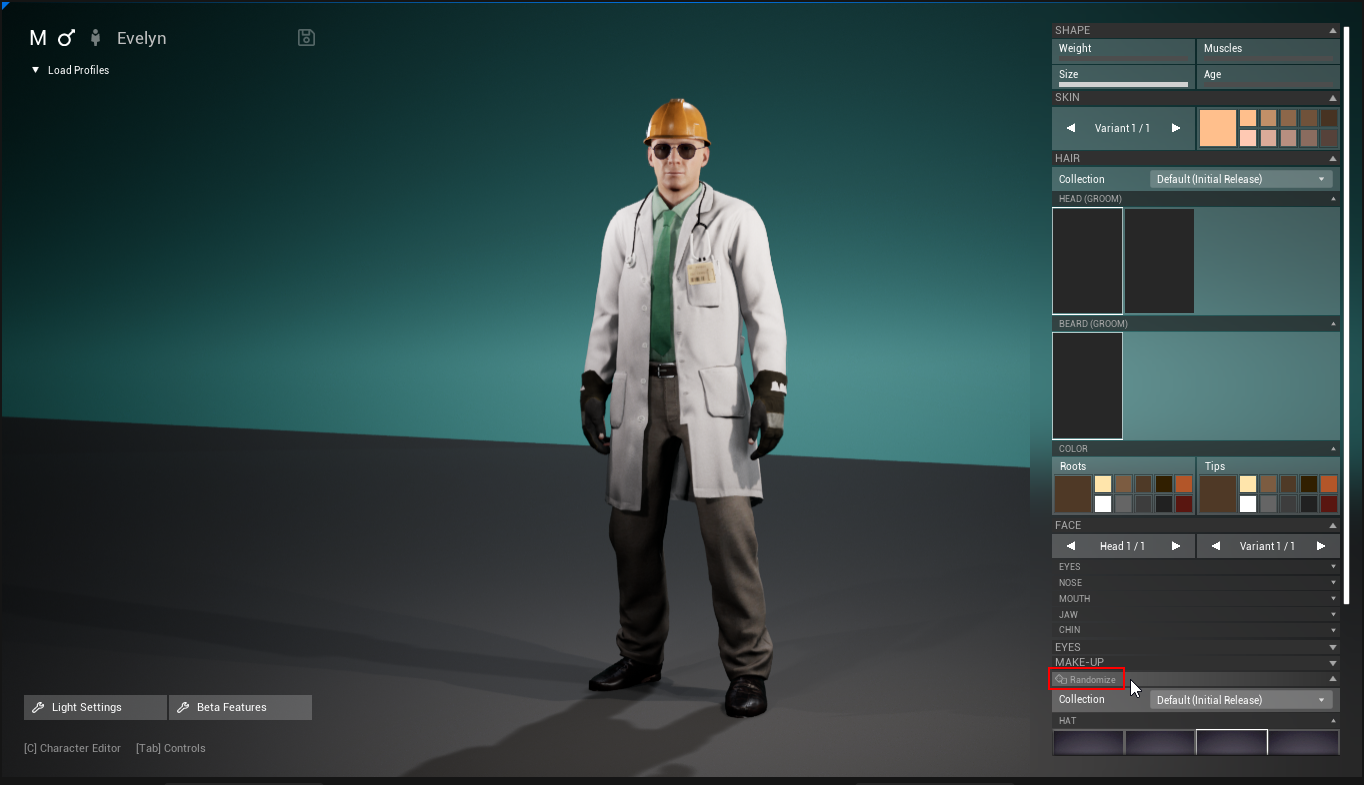
Open CE_TutorialLevel_PersistCustomizationProfile, press "Play in Editor", choose a random apparel, close the Character Editor, and move around as you like.
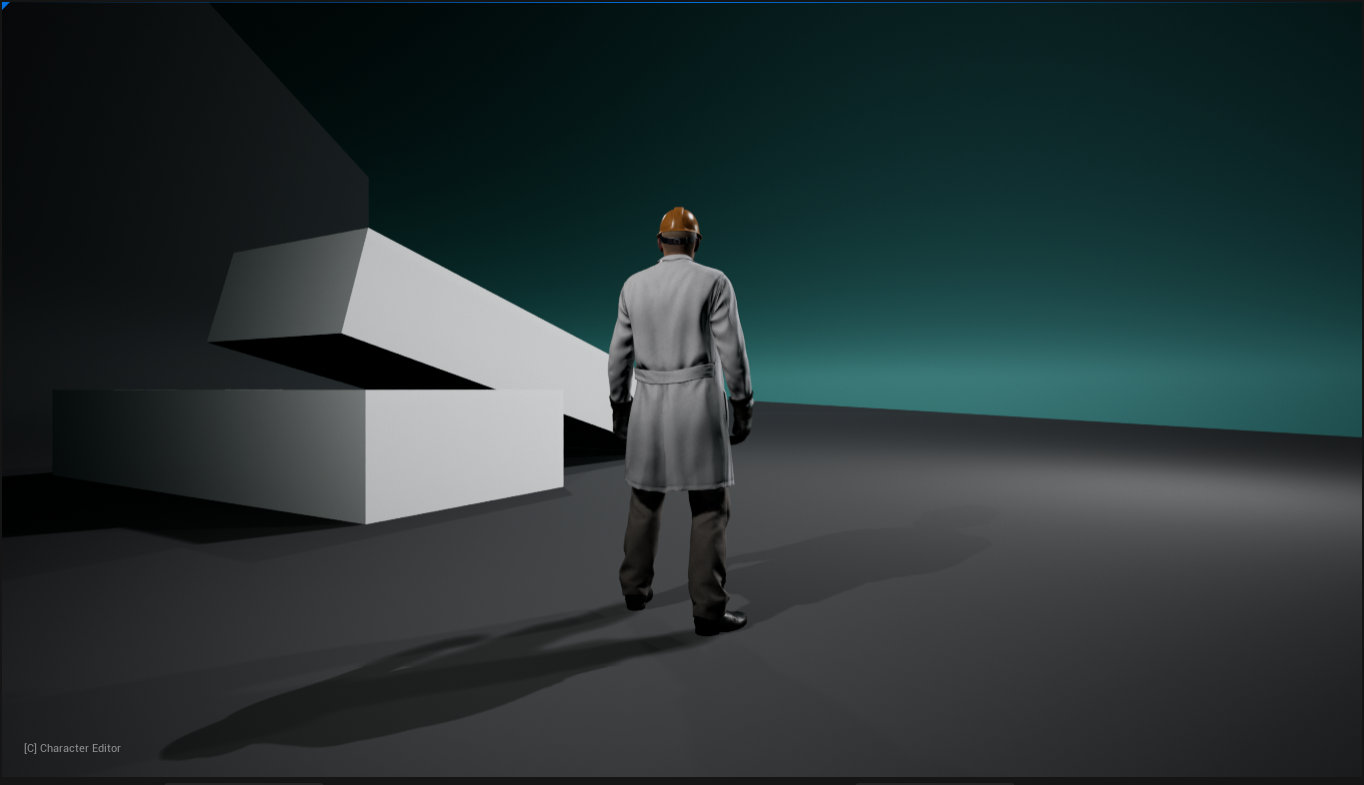
Press "P" to change the level, which essentially loads the same level again, and see your character spawned with the same customization as chosen before closing the editor.
¶ Instructions
The following tutorial explains our example implementation for you to copy and modify.
¶ Game Instance
Create a custom Game Instance Blueprint somewhere in your Content Browser.
Find ours at CharacterEditor/Base/Tutorials/Blueprints/Game/BP_CE_TutorialGameInstance.
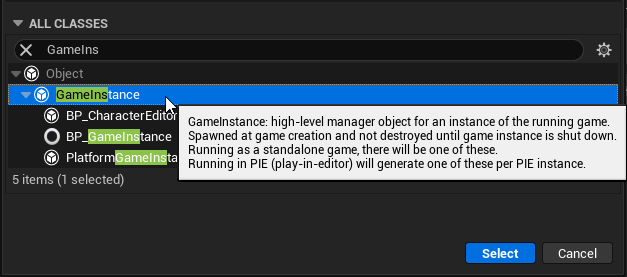
Make sure your Game Instance class is selected as the Maps & Modes Game Instance Class as described in the Try Yourself section above.

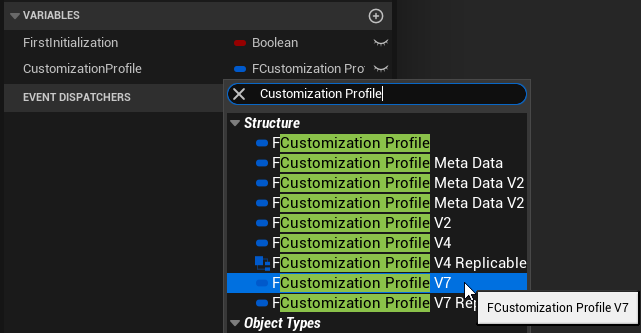
Open your Game Instance Blueprint and create a variable called “CustomizationProfile” type of the latest FCustomizationProfile structure. As of writing this is FCustomizationProfile_V7.
¶ Character
Open your Character Blueprint.
Find ours at CharacterEditor/Base/Tutorials/Blueprints/Character/BP_CE_TutorialCharacter.
Additionally to the Initialize from Character Begin Play nodes that you know from the main BP_Character Begin Play, you need to place three functionalities. In our example they are collapsed graphs, for you to be easily found.
- Load Profile, placed before
BP_CharacterCustomization->InitializeFromCharacterBeginPlay. - Save Profile, placed after
BP_CharacterCustomization->InitializeFromCharacterBeginPlay. - Change Level, placed standalone.
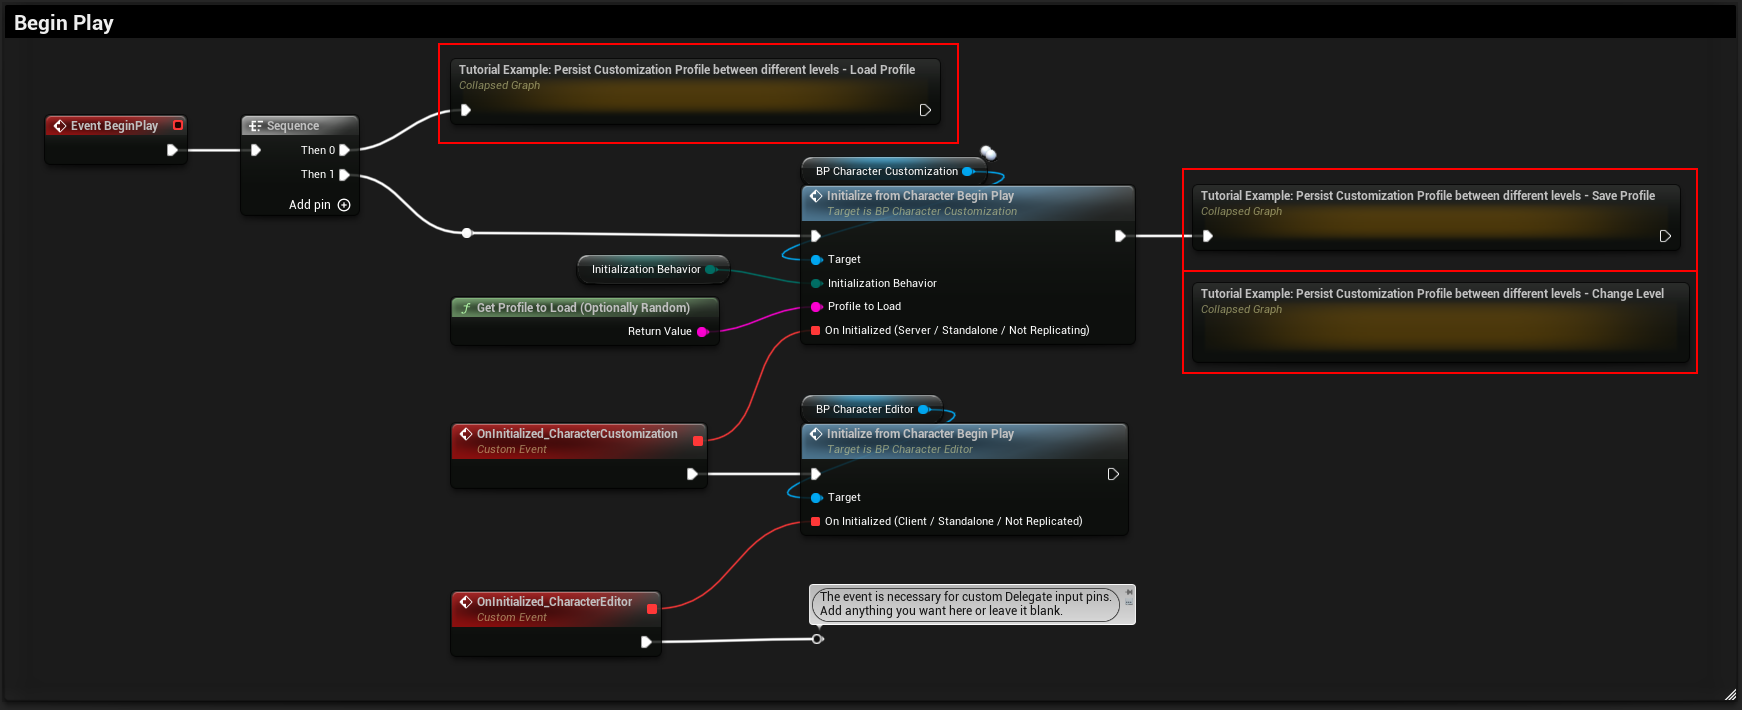
The Load Profile nodes are placed before InitializeFromCharacterBeginPlay to set the Character Blueprint Customization Profile to the value of the Game Instance variable and Initialization Behavior to "Use Current Profile" before initializing the Character Customization component. This way we use the stored profile each time Begin Play is called when loading a new level.

The Save Profile nodes are placed after InitializeFromCharacterBeginPlay and before the Character Editor initialization to early assign an event to the BP_CharacterEditor->OnClose dispatcher. Thus, each time we close the Character Editor in-game, the BP_CharacterCustomization->CurrentCustomizationProfile is stored in the Game Instance variable.

Finally, the Change Level nodes are placed standalone. This is arbitrary logic to change the level. In our example, we are using the hotkey "P" to show the "Persistence" on level change.

¶ Advanced
As you may have noticed, our example also uses a FirstInitialization boolean. This is used to keep the selected Initialization Behavior of "Open Character Editor with Current Profile" in tact on very first load of the level, so you can directly use the Character Editor.
If you want to modify our example and have another default customization for your player, directly at game start, then create one or open DT_PresetCustomizationProfiles_V7 and copy the profile.
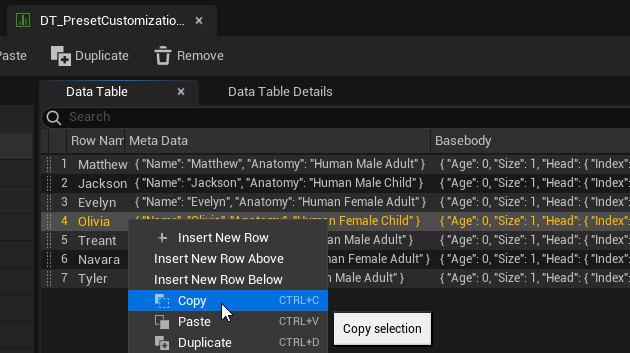
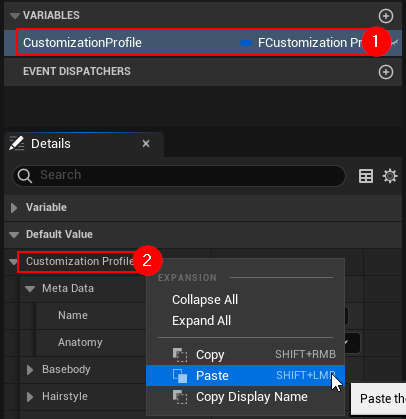
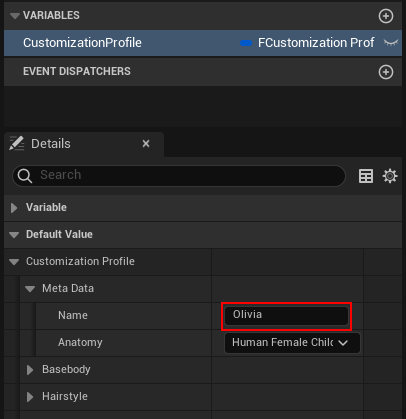
(1) Select the Customization Profile variable and (2) paste your copied profile onto the variable Default Value. Make sure your values have been copied, e.g. by reviewing the Meta Data Name of the profile.
Finally, remove the First Initialization branch in the Load Profile functionality.